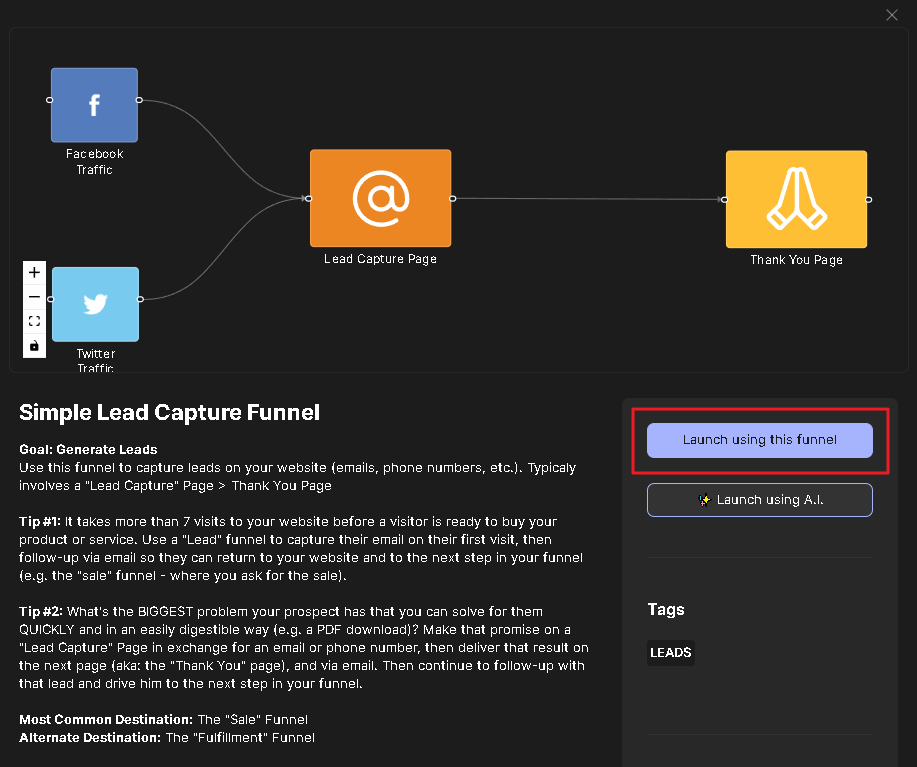
Use this funnel to capture leads (names, emails, phone numbers, etc.). This funnel begins with a Lead Capture Page designed to entice visitors to sign up and provide their contact details, without any obligation to purchase.
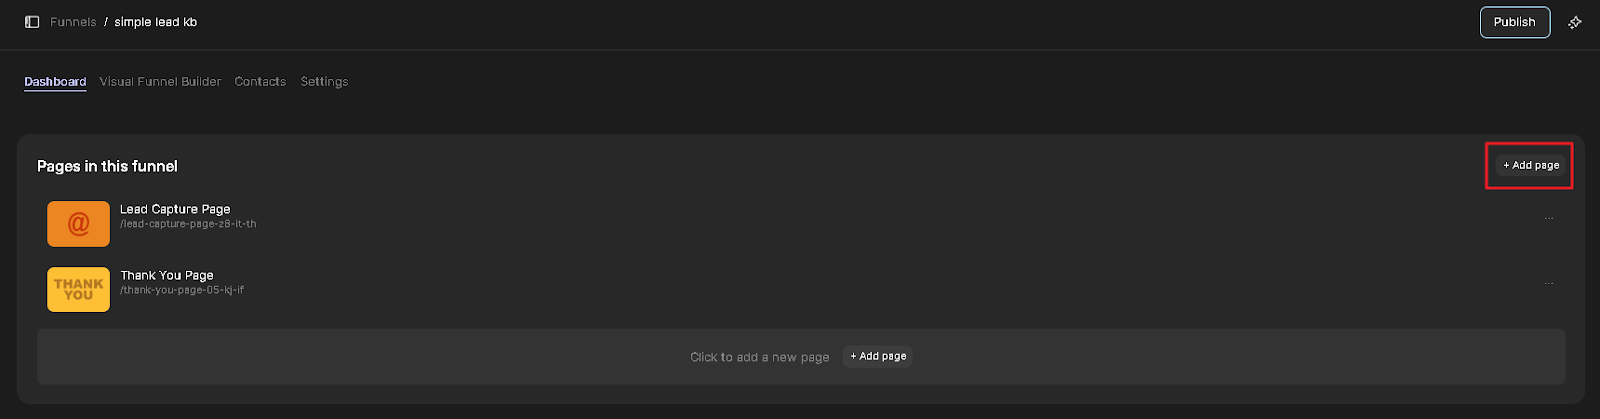
This funnel is made up of 2 pages:
-
Lead Capture Page
-
Thank You Page
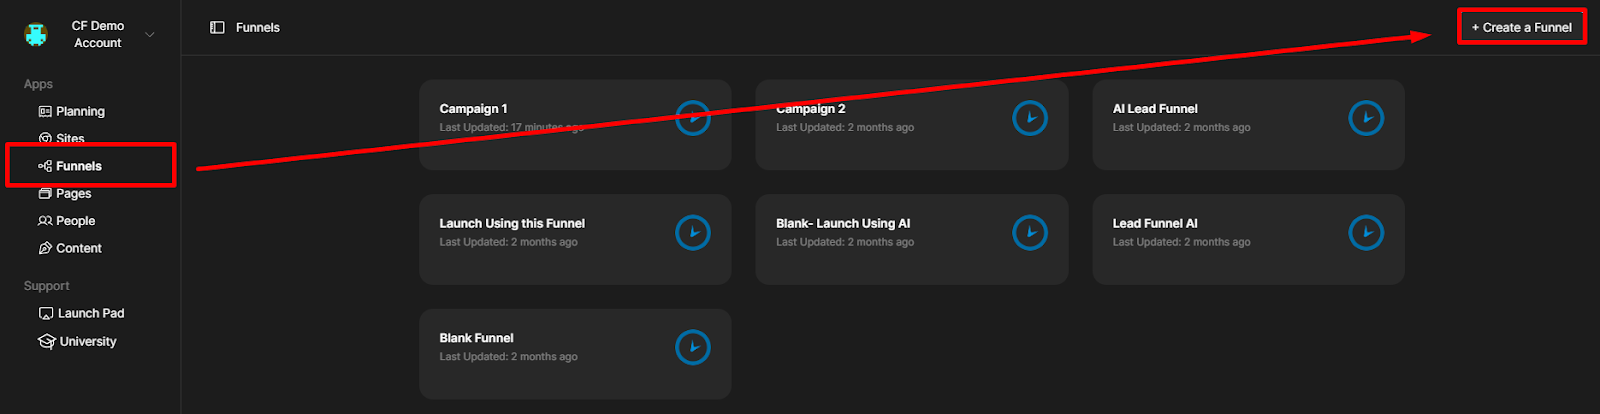
1. Create a Funnel
Go to the Funnels app then click the [Create a Funnel] button at the upper-right of the screen or the button [Create a Funnel] at the dashboard's center to load the funnel templates.
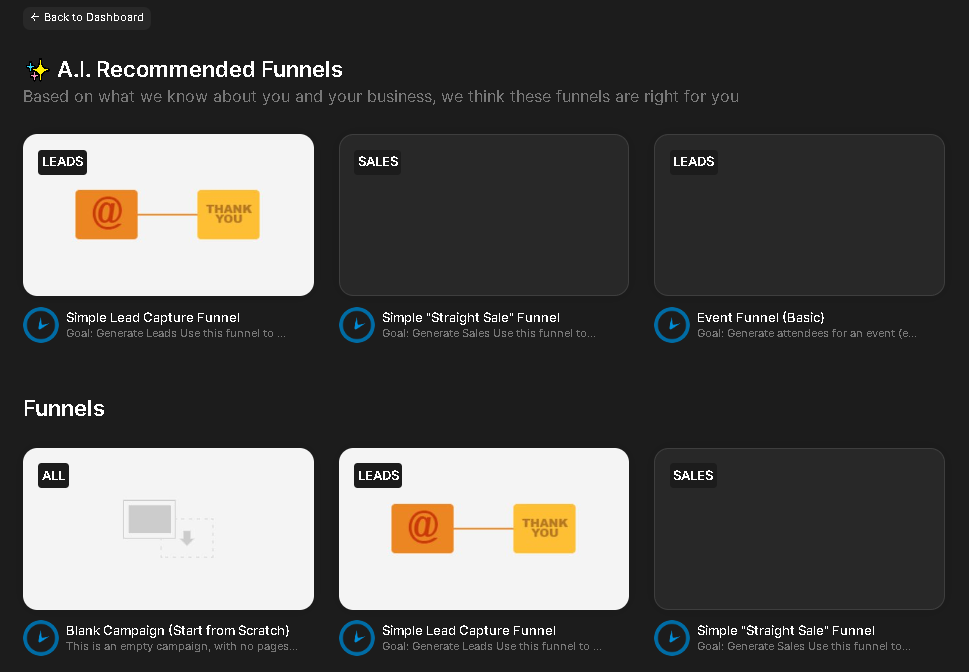
2. Select "Simple Lead Capture Funnel."
3. Launch Funnel
Option 1: Click [Launch using this funnel] to start working on your new funnel.
[Recommended] Option 2: If you've already completed filling out the profiles in the Smart Planner, click [Launch using AI] so your funnel will generate world-class copy specific to your product.
If you haven't done that yet and you want to leverage the Smart Planner, here is a step-by-step guide on how to add or edit profiles using the Smart Planner.
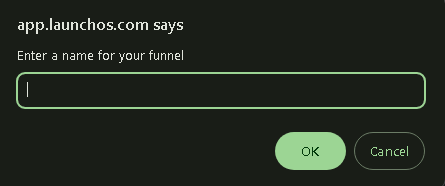
4. Enter a name for your funnel then click [OK].
5. Add or Edit a Page
Click the page you want to edit then follow the prompts.
You can add a page by clicking [+Add page] button at the right side of the screen
To learn how to edit a page, here is a guide: The Page Editor.
6. Integrate Launch OS with your CRM
Integration involves linking various systems to streamline workflows, boost efficiency, and enhance productivity by facilitating data sharing and automation. For instance, integrating a CRM system with an email marketing platform enables automatic customer data synchronization and targeted campaigns.
To do this, you have to follow the steps in these 2 articles:
Related Articles:
Page Actions: How to Set Up Your Pages
Funnel Settings
How to Launch Your First Funnel from Scratch
How to Launch Funnels with a World-class Copy Customized to Your Product, in ONE CLICK